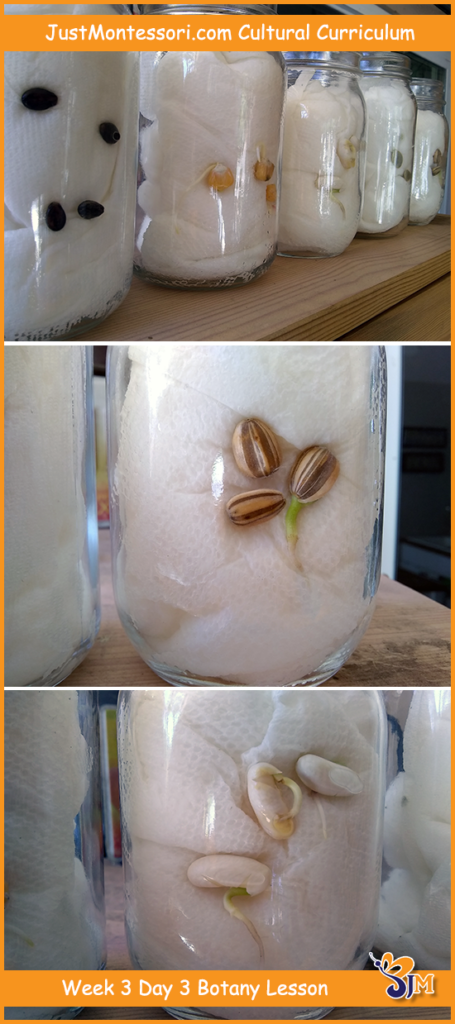

Even as the school year is coming to a close in the Northern Hemisphere (as I write this), I am already preparing for the next school year. Seeds are such a great illustration of Botany, reproduction, and education. I took pictures of the seeds I have in jars so the children can see how the seeds sprout and grow. This is great, especially now when you can share your screen, if using Zoom, to teach. If you are able to be in the classroom, then you will need to start the seeds a week or so before so the children can see them sprouting.

The seed lesson is given in Week 3 Day 3 of my Cultural Curriculum. The lesson lap card in the PDF curriculum is labeled “Botany 2” for those who have purchased those, and you can find it at the end of the file for Weeks 1-5.
Here is how to present the lesson:
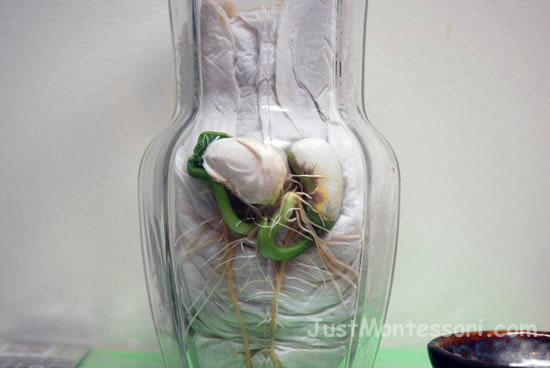
Need for lesson – Seeds already started in clear jar that have started growing (like the photo below), a bean seed for each child (pre-soaked), paper towels, clear jar or vase, beans for the jar, Seed Matching work, and Kinds of Seeds.
Botany 2
All of your seeds were hard like this one (pass the seed around the circle). The seed you have on your towel has been soaked in water and is now soft. Very gently rub your seed (demonstrate with your seed). This is the seed coat. The outside layer of a seed is called the seed coat. Can you say “seed coat” as you look at and feel yours?Now very carefully open your seed (demonstrate with yours). Inside we find the very start of a plant. It is very little now. See if you can find the leaves in your seed.
I started growing these seeds many days ago (Show jar/vase of seed already started). The seeds are growing and getting bigger. See how the seed opened up to let the little plant grow? Let’s add dry seeds to this
other jar and watch them grow.Discuss Seed Vocabulary cards and demonstrate Seed Matching work.

