
Book choices for today:
The Skeleton Inside You Philip Balestrino
Your Bones Peter Murray
The Skeletal System Caroline Arnold
The Skeletal System Helen Frost
You can’t See Your Bones with Binoculars Harriet Ziefert
Things That Go Anne Rockwell
Ways to Go Dana Rau
Let’s Go! Karin Badt
Science:(first circle)
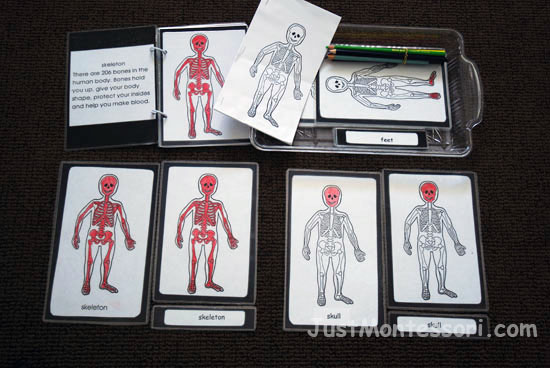
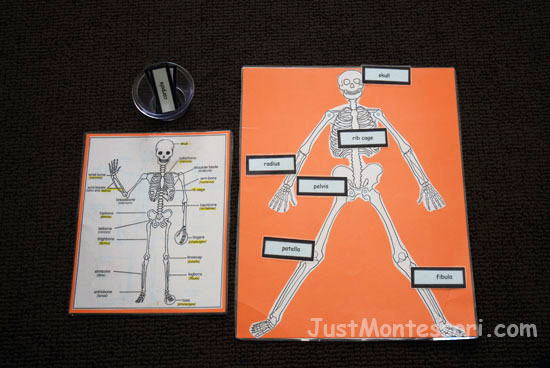
Need for lesson – Skeleton model or picture, an outline of a child’s body on large white paper, Skeleton three-part matching, and a picture with the name of different bones.
Science 12
We are going to learn about some of the things inside our bodies now, the things that are there and work for us but we cannot see them. Let’s begin with our skeleton. Your skeleton is the framework of your body. It gives your body its shape, holds you upright, and lets you move. Your skeleton is made up of bones. Bones are hard but they do not weigh very much. When you were a baby your bones were soft but now that you are getting older, your bones are getting harder and harder. You will have 206 bones when you are all grown up. Some parts of your skeleton protect other parts of your body, like your skull protects your brain, and your rib bones help to protect your lungs. Let’s learn the names of some our bones. We can make a skeleton booklet of some of them.
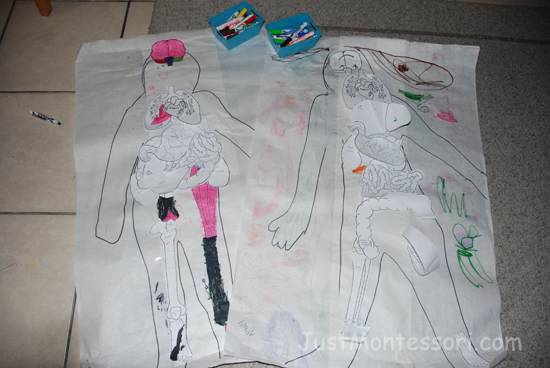
We have the outline of one our friends’ body. We are going to learn about some of the the things on the inside of our bodies this month and as we do we will put that part on our paper outline of the body. We started with the skeleton, so we will tape these bones to the body outline and hang it up.
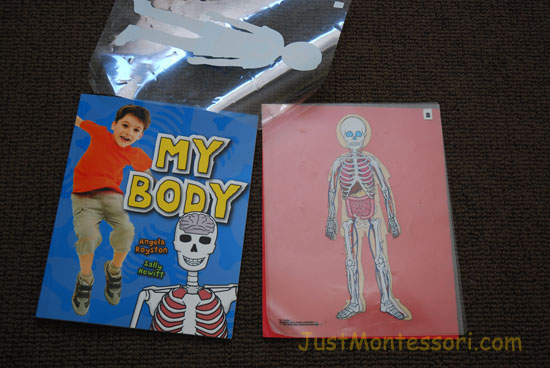
(In the above picture, I received this body see through booklet from a Macmillan ‘Our Bodies Set’ years ago, and the book on the left is just a nice reference book to use throughout this month for an additional resource)
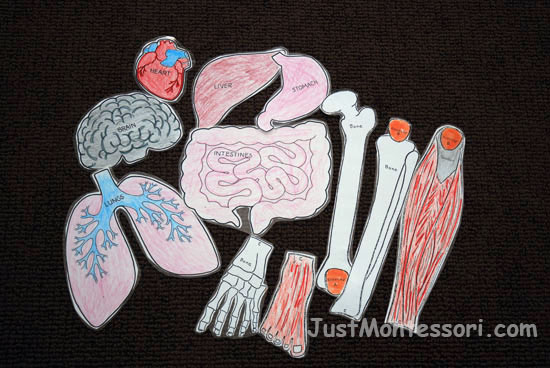
These are the body part pieces we will begin taping onto our body outline, one at a time as we learn about the different parts. These came in a ‘Our Bodies Set’ from Macmillan that I colored. It is nice if you have a small class or home school to trace the outline of each child and they can then color each body part as you learn about it and they can then add it to their own body outline until you are finished with the lesson on Our Bodies.

Art:
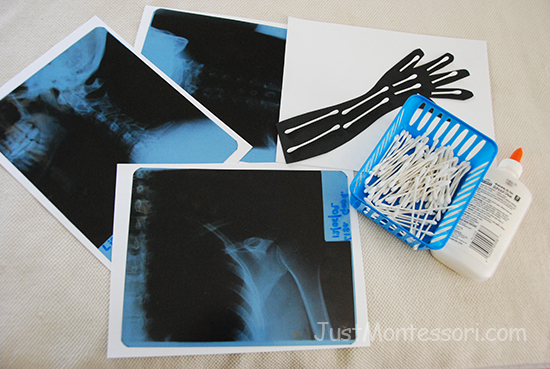
X-ray Art – If you have any x-rays, talk with the children about what an x-ray is and show them the bones that can be seen in an x-ray. Trace each child’s arm and hand. Children glue q-tips to represent a bone x-ray of their arm and hand.
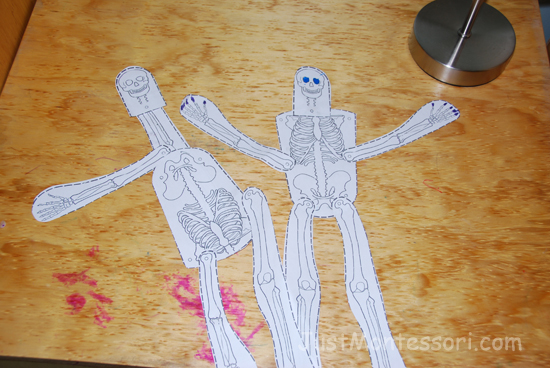
Skeletons – Have pre-cut skeleton pieces (arm, head, legs, ribs) and children can glue the skeleton together.
Songs/Poems:
Head, Shoulders, Knees and Toes (sing this with same tune, only replace with the names of the bones as you sing, and touch each part of body)
Skull, clavicle, patella, and phalanges
Patella and phalanges, patella and phalanges
Skull, clavicle, patella, and phalanges
Patella and phalanges, patella and phalanges
B-O-N-E-S (from The Mailbox Magazine sung to the tune of B-I-N-G-O)
Once there was a skeleton,
And Bones was his name , oh
B-O-N-E-S, B-O-N-E-S, B-O-N-E-S
And Bones was his name, oh
Once there was a skeleton
And Bones was his name, oh
B-O-N-E-(clap), B-O-N-E-(clap), B-O-N-E-(clap)
And Bones was his name , oh
(continue to repeat the verse-each time dropping one more letter and add a clap in it’s place)
Science Extra:
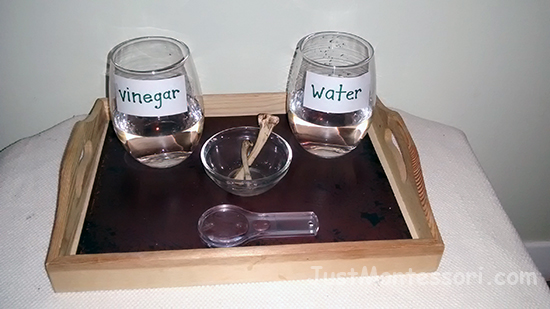
Growing Strong Bones – This experiment is from The Mailbox Magazine. Explain to the children that bones live and grow just like every other part of their body. As they grow, their bones grow. Emphasize that eating healthy calcium-rich foods helps to grow strong bones. To demonstrate how minerals like calcium are important to bone strength perform this simple experiment.

Strip the meat from two small chicken or turkey bones, and let the bones dry overnight. The following day pass the bones around and let the children feel them. Then place one of the bones in a clear container of water and the other one in a clear container of vinegar. Cover and let the bones soak for about four or five days. Remove the bones and dry them off. Pass the bones around and talk about how they feel now and if they feel different.
The vinegar-soaked bone softened because the acid in the vinegar dissolved the minerals in the bone. Minerals are very important for strong bones!
Geography: (second circle)
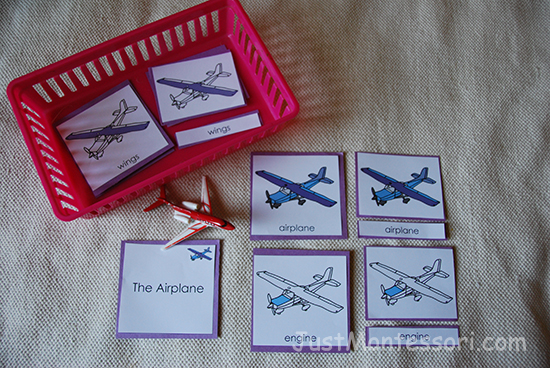
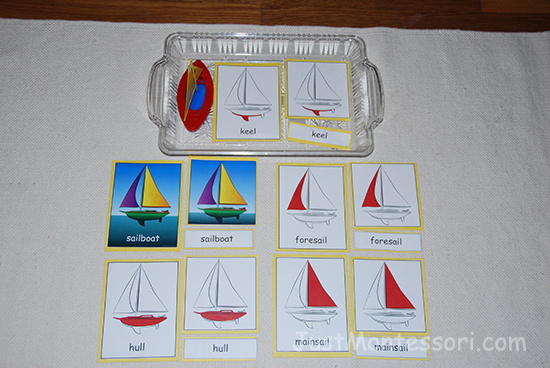
Need for lesson – Parts of a Sailboat, Bike, Airplane, and Car
Geography 8
We have started to visit other continents in the Geography area of our classroom. We are now visiting North America. When we really go and visit another place, how can we get there? A car is a way to get somewhere. What about by bicycle or walking? All these different ways of getting from one place to another is called transportation. We travel to different places by way of transportation. Let’s look at these different booklets of types of transportation (on the back of each page of the booklet is where I pasted the part that corresponds to what is highlighted, so read these as you go through booklets). These are just some of the ways we can get from one place to another. We can then learn a little about each means of transportation. You can also make your own book.
Demonstrate one or two booklets or three-part matching cards.

Additional Works:
Transportation Card Set
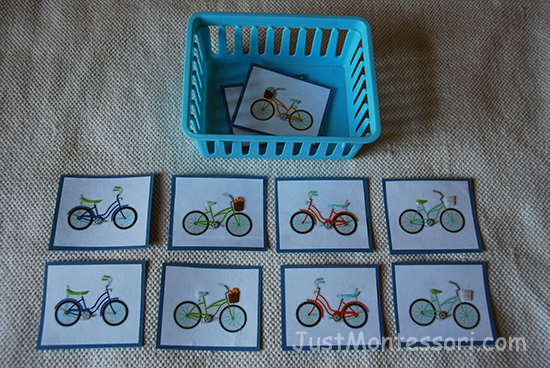
Bike Matching – I made these using stickers.
Practical Life:
Puzzle – This is a puzzle I found at a second hand store. It has 4 different puzzles inside.
Art:
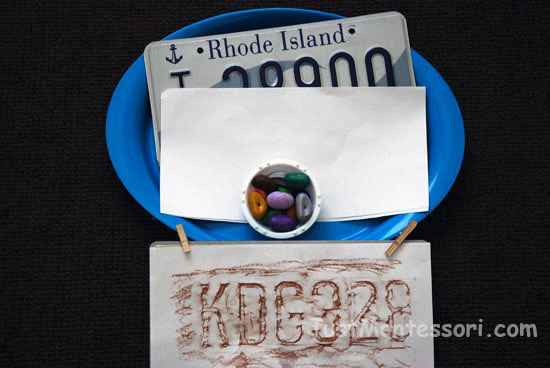
License Plate Rubbings – Gather a few old license plates and children can place a piece of paper over them and rub with the side of crayons to make rubbings.
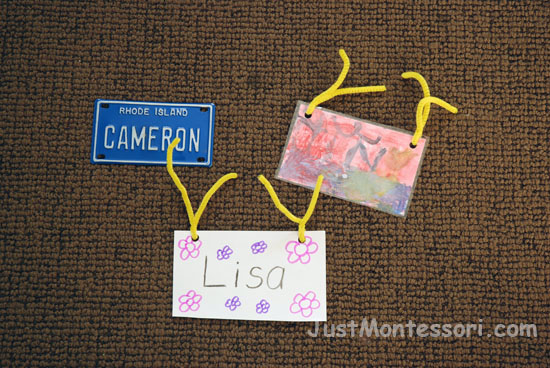
Bike Plates – Have small white card stock paper pre-cut on a tray with watercolors and a black Sharpie marker. Have children write their name on the paper and then watercolor them. When they dry, laminate them and make two hole punches at the top ends of the ‘plate.’ Use pipe cleaners to make rings that the children can then hang on their bicycles at home.
Transportation Stencils – Have pencils, stencils and paper available on a tray so the children can trace various means of transportation.
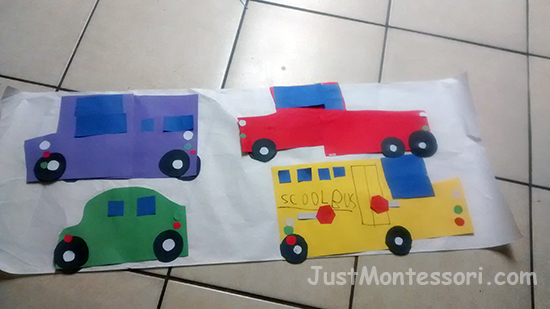
Paper Art – Children can make vehicles of their choice using pre-cut shapes of paper. Older children can cut their own paper shapes as well.
Song (CD) choices for today:
Backseat Driver Frank Leto
Jets and Planes Fank Leto
Wheels on the Bus Raffi
I Wonder if I Am Growing Raffi
Macarena Bones Dr. Jean CD
Get the PDF for Weeks 6-10
-
 (C) Weeks 6-10$25.00